Design Any Product, Part 3: Analysis (Turn Data Into Decisions)
- Leor Wolins

- 5 hours ago
- 7 min read
Welcome back to Part 3 of the Design Any Product series. If Part 2 was about gathering the raw truth from stakeholders, users, and the market, Part 3 is where that truth becomes something you can design with. Analysis is the bridge.

Research without analysis is just a folder of meetings.
This is the phase where insights get organized, patterns get named, and your team finally stops arguing about what the users "really" want, because now you have evidence and you have it structured. Done well, analysis is the moment your product gains direction. Done badly, it is the moment your research turns into a Google Drive graveyard.
3 analytical tools do most of the work in this phase.
Creating User Personas. Realistic snapshots of who you are designing for, built from real data.
Creating User Stories. Translations of user needs into shippable, prioritize-able work.
Storyboarding. Visual maps of how the user actually moves through your product.
Three lenses on the same truth.
Three ways to make the user real to your team.
One shared goal: stop guessing about who you are designing for.
Let's break each one down.


Creating User Personas
A persona is not a stock photo with a name. It is a research-grounded snapshot of a real type of user, built so your whole team can hold them in their head while making decisions. Done right, personas keep design honest. Done badly, they become decorative slides nobody references after the kickoff.
6 steps shape this work.
The step | What it produces |
Define objectives | A clear purpose and the right number of personas |
Conduct user research | Data on demographics, behaviors, goals, pain points |
Identify patterns | User segments grouped by recurring themes |
Develop profiles | Named, photo'd, detailed personas with quotes |
Validate and refine | Personas vetted by stakeholders and real users |
Use in design | A reference for every design decision moving forward |

Define the Objectives of Personas
Purpose
Clearly state why you are creating personas. Typically, this involves understanding and empathizing with your users, guiding design decisions, and aligning the team around user-centered goals.
Scope
Determine the scope of the personas, such as the number of personas needed and the specific user types they will represent.

Conduct User Research
Data Collection
Gather qualitative and quantitative data about your users. Methods can include surveys, interviews, focus groups, analytics, and observations.
Key Information
Collect information on demographics (age, gender, income, education), psychographics (attitudes, values, interests), behaviors (usage patterns, preferences), and goals (needs, motivations, pain points).
Identify Patterns and Group Users
Data Analysis
Analyze the collected data to identify patterns and commonalities among users. Look for recurring themes in behaviors, needs, and goals.
User Segmentation
Group users into segments based on the identified patterns. Each segment should represent a distinct user type with similar characteristics and needs.

Develop Persona Profiles
Persona Details
Create detailed profiles for each user segment. Include name and photo (to make them relatable), demographics (age, gender, occupation, education, income, location), background (personal context and life experiences), goals and needs (what the persona aims to achieve, their motivations), pain points (challenges and frustrations your product can address), behaviors (typical usage patterns), quotes (direct quotes from user research that capture the persona's voice), and technology proficiency (level of comfort with technology).
Why the Detail Matters
Each element of the persona profile adds another lever for your team to design with. A persona without quotes feels flat. A persona without pain points cannot drive prioritization. The more vivid the profile, the more useful it becomes.
Validate and Refine Personas
Stakeholder Review
Share the personas with the team and stakeholders to ensure they accurately represent the target audience. Gather feedback and make necessary adjustments.
User Validation
If possible, validate the personas with actual users. Check if the personas accurately reflect their experiences and needs.
Use Personas in Design Process
Design Reference
Use personas as a reference throughout the design process. Ensure that design decisions are made with the personas' needs and behaviors in mind.
Scenario Creation
Develop scenarios and use cases based on personas to explore how they would interact with your product in different situations.
Communication Tool
Use personas to communicate user insights and design rationale to stakeholders, ensuring everyone is aligned on the target audience.
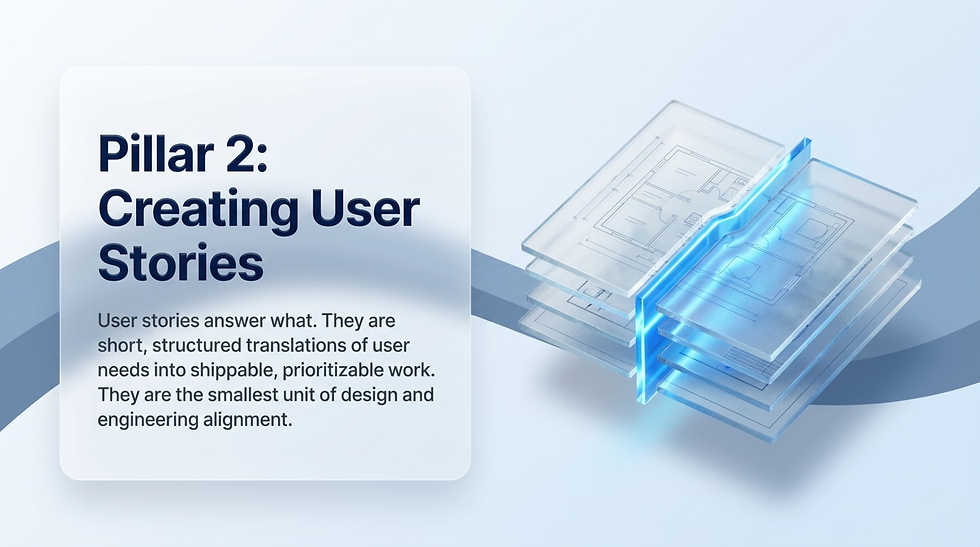
Creating User Stories
If personas answer who, user stories answer what. A user story is a short, structured sentence that captures one specific thing a user wants to do, why they want to do it, and what success looks like. Done well, user stories are the smallest unit of design and engineering alignment. Done badly, they become bureaucratic Jira tickets that nobody reads.
7 steps shape this work.
The step | What it produces |
Define objectives | Clarity on what your user stories should drive |
Understand your users | Research and personas grounding the work |
Develop stories | "As a... I want... so that..." statements |
Gather context | Acceptance criteria and scenarios for each story |
Collaborate | Cross-functional input and shared priorities |
Write and review | Clean, jargon-free, team-approved stories |
Integrate | A managed backlog ready for sprint planning |

Define the Objectives of User Stories
Purpose
Clearly articulate why you are creating user stories. Typically, this includes understanding user interactions, aligning the team around user needs, and guiding development priorities.
Scope
Determine the scope of the user stories, focusing on specific features, functionalities, or user interactions.
Understand Your Users
User Research
Conduct user research to gather insights about your target audience. This includes understanding their needs, goals, behaviors, and pain points.
Personas
Utilize user personas to represent different types of users. Refer to these personas when creating user stories to ensure they reflect real user needs and contexts.
![Glass puzzle pieces with text: As a [User]... I want to [Goal]... so that [Motivation]. The Guardrail: Acceptance Criteria.](https://static.wixstatic.com/media/399432_cc7a6020c45f4ab887e3d309e94d097d~mv2.png/v1/fill/w_980,h_547,al_c,q_90,usm_0.66_1.00_0.01,enc_avif,quality_auto/399432_cc7a6020c45f4ab887e3d309e94d097d~mv2.png)
Develop User Stories
Template
Use the standard user story template: "As a [user], I want to [goal to achieve] so that [motivation]."
User
Define who the user is. This could be a specific persona or user role.
Goal
Identify what the user wants to achieve. This should be a clear and actionable goal.
Motivation
Explain why the user wants to achieve this goal. This provides context and helps prioritize the story.
Gather Requirements and Context
Contextual Information
Provide additional context where necessary to clarify the user story. This could include preconditions, specific scenarios, or dependencies.
Acceptance Criteria
Define the acceptance criteria for each user story. These are the conditions that must be met for the story to be considered complete and successful.

Collaborate with the Team
Brainstorming
Collaborate with team members, including designers, developers, and stakeholders, to brainstorm and refine user stories. This ensures that all perspectives are considered.
Prioritization
Prioritize user stories based on factors such as user value, business impact, and feasibility. Use techniques like MoSCoW (Must have, Should have, Could have, Won't have) or the Kano model.
Write and Review User Stories
Clarity
Write user stories clearly and concisely. Avoid technical jargon and ensure they are easily understandable by all team members.
Review
Review user stories with the team and stakeholders to ensure they accurately reflect user needs and project goals. Make revisions as necessary based on feedback.

Integrate into Development Process
Backlog Management
Add user stories to the product backlog. Ensure they are organized and easily accessible for reference throughout the development process.
Agile Framework
Integrate user stories into your chosen agile framework, such as Scrum or Kanban. Use them to guide sprint planning, daily stand-ups, and review meetings.
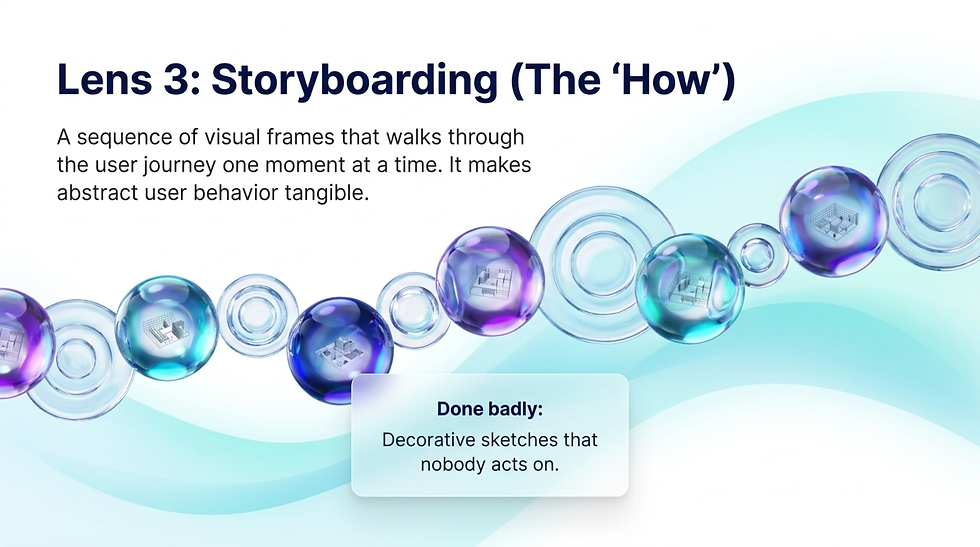
Storyboarding
Personas tell you who. User stories tell you what. Storyboards show you how. A storyboard is a sequence of visual frames that walks through the user journey one moment at a time, like a comic strip for your product. Done well, storyboards make abstract user behavior tangible. Done badly, they are decorative sketches that nobody acts on.
7 steps shape this work.
The step | What it produces |
Define objectives | Scope and purpose for the storyboard |
Identify scenarios | Key user moments worth visualizing |
Outline structure | Format, components, and sequence flow |
Develop scenes | Visual depictions of user actions and emotions |
Add narratives | Context, dialogue, and motivation for each scene |
Review and iterate | Stakeholder feedback woven in |
Use for design | A storytelling tool for design and communication |

Define the Objectives of Storyboarding
Purpose
Clearly articulate why you are creating storyboards. Typically, this includes visualizing user interactions, exploring user journeys, and communicating design concepts.
Scope
Determine the scope of the storyboards, focusing on specific user personas, user stories, or product features.
Identify User Scenarios
User Stories
Refer to existing user stories to identify scenarios that represent key interactions or tasks within your product.
Persona Alignment
Match user scenarios with specific user personas to ensure the storyboards reflect realistic user contexts and motivations.
Outline the Storyboard Structure
Storyboard Format
Determine the format of your storyboards, such as sketches, digital illustrations, or multimedia presentations.
Storyboard Components
Define the key components of each storyboard, including scenes, actions, user interactions, and annotations.

Develop Storyboard Scenes
Scene Creation
Create individual scenes that depict different stages of the user journey. Each scene should represent a specific user interaction or task.
Visual Representation
Use visuals to convey the user's actions, emotions, and surroundings. This can include characters, interfaces, environments, and props.
Sequence Flow
Arrange scenes in a logical sequence to illustrate the progression of the user journey.
Add Annotations and Narratives
Annotations
Include annotations or captions to provide context, describe user actions, and highlight key points in each scene.
Narratives
Write narratives or dialogues that accompany the storyboard scenes. This adds depth to the story and helps viewers understand the user's thought process and motivations.
Review and Iterate
Team Review
Share the storyboards with the design team, stakeholders, and even potential users for feedback.
Iterate Based on Feedback
Incorporate feedback to refine the storyboards. Make adjustments to improve clarity, coherence, and alignment with user needs.
Use Storyboards for Design and Communication
Design Inspiration
Use storyboards as inspiration for designing user interfaces, interactions, and experiences.
Communication Tool
Present storyboards to stakeholders to communicate design concepts, user journeys, and proposed solutions.
User Testing
Use storyboards as prototypes for user testing to gather feedback on proposed interactions and workflows.


Putting it all Together
The analysis phase is the bridge between research and design. By creating user personas, user stories, and storyboards, you transform raw data into actionable insights that keep the user experience front and center. These tools clarify who your users are, what they need, and how they move through your product. Together they ensure that every feature and interaction has a reason to exist.
Three personas.
Three stories.
Three storyboards. That's the analysis.
With a solid understanding of your users and their journeys, you are now ready to take the next step: translating these insights into something you can hold, click, and react to.
Up next, Part 4: where the analysis becomes the first sketch. Low-fidelity time.

Read The Full Series
This is Part 3 of 5.
Part 1 | |
Part 2 | Research |
Part 3 | Analysis |
Part 4 | Low Fidelity Designs |
Part 5 | High Fidelity Designs |


Comments